Getting Started
Use the Connector in Your Project
Application Requirements
Java Development Kit (JDK)
The application using the MuleSoft Vectors Connector must use Java Development Kit (JDK) 17
MuleSoft Runtime
The application using the MuleSoft Vectors Connector requires a Mule Runtime >= 4.9.0.
Option 1: Maven Central Repository
Edit File pom.xml
The MAC Project connectors are constantly updated, and the version is regularly changed.
Make sure to replace {version} with the latest release from Maven Central (opens in a new tab).
Copy and paste the following Maven Dependency into your Mule application pom file.
<dependency>
    <groupId>io.github.mulesoft-ai-chain-project</groupId>
    <artifactId>mule4-vectors-connector</artifactId>
    <version>{version}</version>
    <classifier>mule-plugin</classifier>
</dependency>
Option 2: Local Maven Repository
Build Requirements
Before you start, ensure you have the following prerequisites:
- Java Development Kit 17
- Apache Maven
- MuleSoft Anypoint Studio
Download the MuleSoft Vectors Connector
Clone the MAC Vectors Connector repository from GitHub:
git clone https://github.com/MuleSoft-AI-Chain-Project/mule-vectors-connector.git
cd mule-vectors-connector
Build the Connector with Java 17
mvn clean install -Dmaven.test.skip=true -DskipTestsEdit File pom.xml
The MAC Project connectors are constantly updated, and the version is regularly changed.
Make sure to replace {version} with the latest release from our GitHub repository (opens in a new tab).
Add the following dependency to your pom.xml file:
<dependency>
    <groupId>com.mulesoft.connectors</groupId>
    <artifactId>mule4-vectors-connector</artifactId>
    <version>{version}</version>
    <classifier>mule-plugin</classifier>
</dependency>
Shared Libraries
In order reduce the overall size of the connector and avoid adding dependencies that are not required, all the optional
libraries have been removed from the connector and only the required ones can be added depending on the specific use case.
Mule maven plugin allows to configure shared libraries in your application, you can learn more here (opens in a new tab).
Storage Services
Connections
...
<sharedLibraries>
    <sharedLibrary>
        <groupId>software.amazon.awssdk</groupId>
        <artifactId>s3</artifactId>
    </sharedLibrary>
    ...
</sharedLibraries>
...
<dependencies>
    <dependency>
        <groupId>software.amazon.awssdk</groupId>
        <artifactId>s3</artifactId>
        <version>2.31.6</version>
    </dependency>
    ...
</dependencies>
...
Transform Operations
Configuration
...
<sharedLibraries>
		<sharedLibrary>
			<groupId>dev.langchain4j</groupId>
			<artifactId>langchain4j</artifactId>
		</sharedLibrary>
		<sharedLibrary>
			<groupId>dev.langchain4j</groupId>
			<artifactId>langchain4j-document-parser-apache-tika</artifactId>
		</sharedLibrary>
    ...
</sharedLibraries>
...
<dependencies>
		<dependency>
			<groupId>dev.langchain4j</groupId>
			<artifactId>langchain4j</artifactId>
			<version>1.1.0</version>
		</dependency>
		<dependency>
			<groupId>dev.langchain4j</groupId>
			<artifactId>langchain4j-document-parser-apache-tika</artifactId>
			<version>1.1.0-beta7</version>
		</dependency>
    ...
</dependencies>
...
Embedding Models
Configuration
...
<sharedLibraries>
		<sharedLibrary>
			<groupId>dev.langchain4j</groupId>
			<artifactId>langchain4j-core</artifactId>
		</sharedLibrary>
    ...
</sharedLibraries>
...
<dependencies>
		<dependency>
			<groupId>dev.langchain4j</groupId>
			<artifactId>langchain4j-core</artifactId>
			<version>1.1.0</version>
		</dependency>
    ...
</dependencies>
...
Vector Stores
Connections
...
<sharedLibraries>
  <sharedLibrary>
      <groupId>dev.langchain4j</groupId>
      <artifactId>langchain4j-azure-ai-search</artifactId>
  </sharedLibrary>
  ...
</sharedLibraries>
...
<dependencies>
  <dependency>
      <groupId>dev.langchain4j</groupId>
      <artifactId>langchain4j-azure-ai-search</artifactId>
      <version>1.1.0-beta7</version>
  </dependency>
  ...
</dependencies>
...
Connector Configurations
The MuleSoft Vectors connector is shipped with 3 different categories of operations: Document, Embedding and Store. For each category a dedicated configuration must be defined.

Storage Configuration
The storage configuration allows to pick-up the right storage service option among the available ones. When configuring the connection to a specific storage service it's also possible to test it.
Go to the Global Elements in your MuleSoft project, and create a new configuration.
In the Connector Configuration, you will find the MuleSoft Vectors Connector Storage config. Select it and press OK.
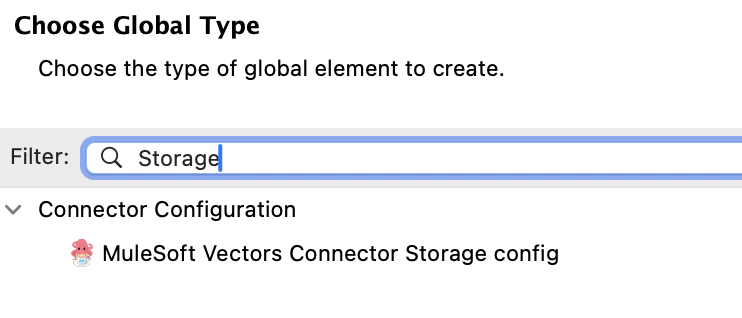
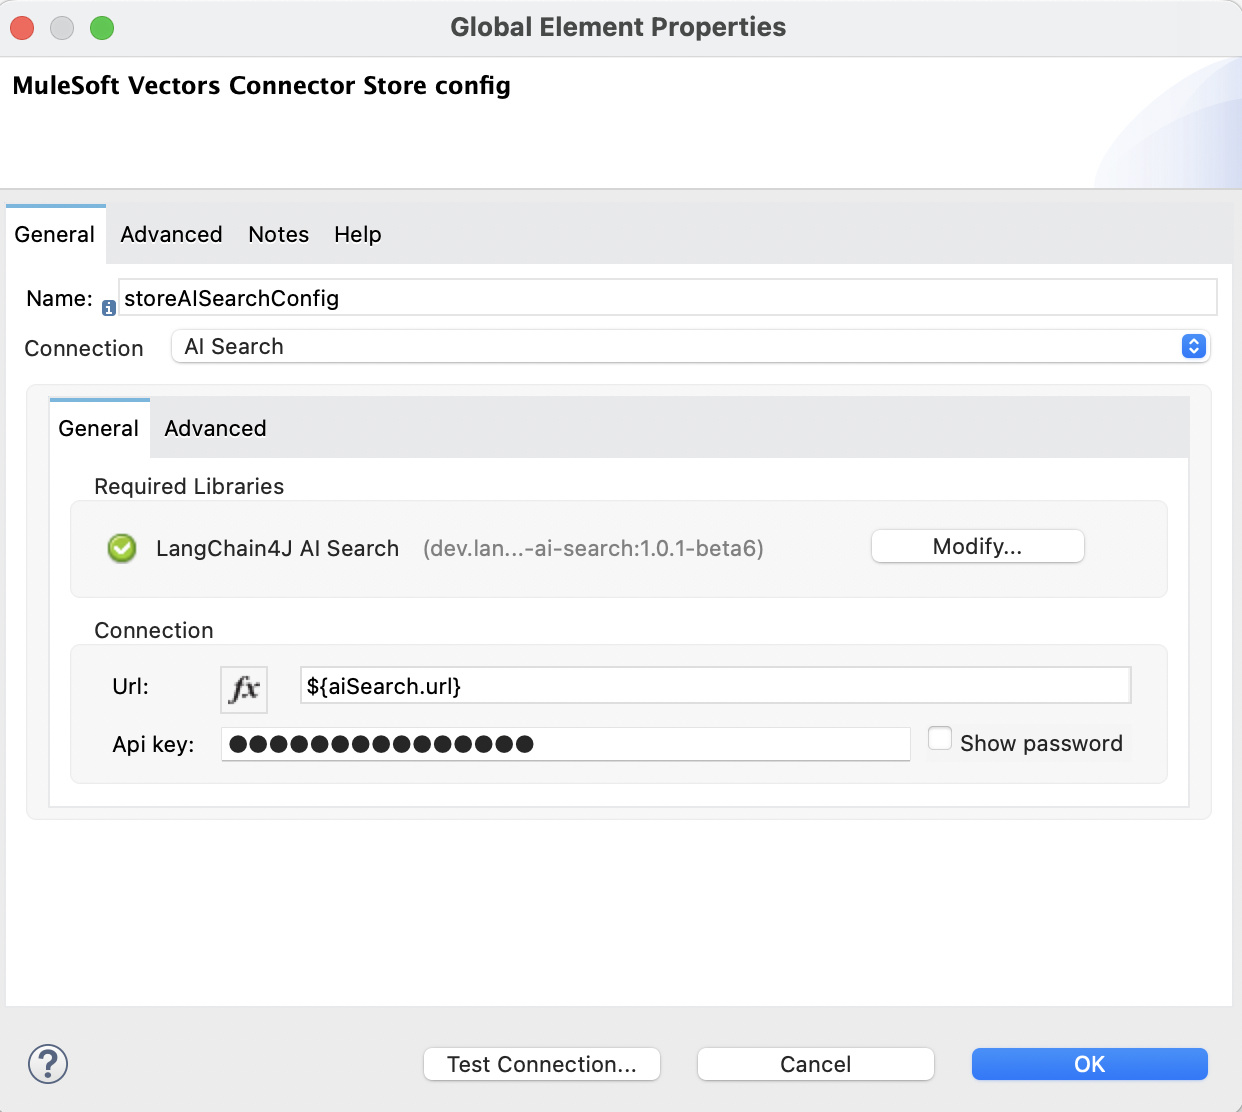
Depending on the specific storage service selected you'll be presented with different parameter to setup the connection. Amazon S3, Azure Blob Storage and Google Cloud Store also require shared library to be added to your application. Following an example.

Transform Configuration
The transform configuration allows to pick-up the right transformation options among the available ones. When configuring the parameters for a specific transformation service it's also possible to test it.
Go to the Global Elements in your MuleSoft project, and create a new configuration.
In the Connector Configuration, you will find the MuleSoft Vectors Connector Transform config. Select it and press OK.

Depending on the specific transformation service selected you'll be presented with different parameter to setup the configuration. Following an example.

Embedding Configuration
The embedding configuration allows to pick-up the right embedding model service option among the available ones. When configuring the connection to a specific embedding model service it's also possible to test it.
Go to the Global Elements in your MuleSoft project, and create a new configuration.
In the Connector Configuration, you will find the MuleSoft Vectors Connector Embedding config. Select it and press OK.
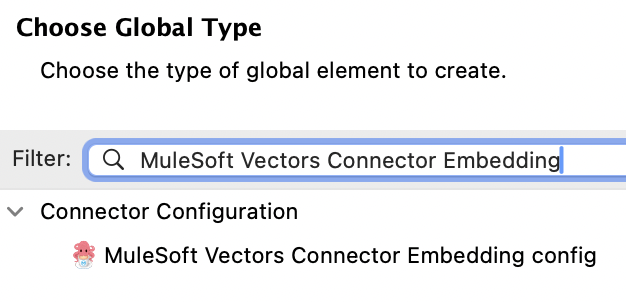
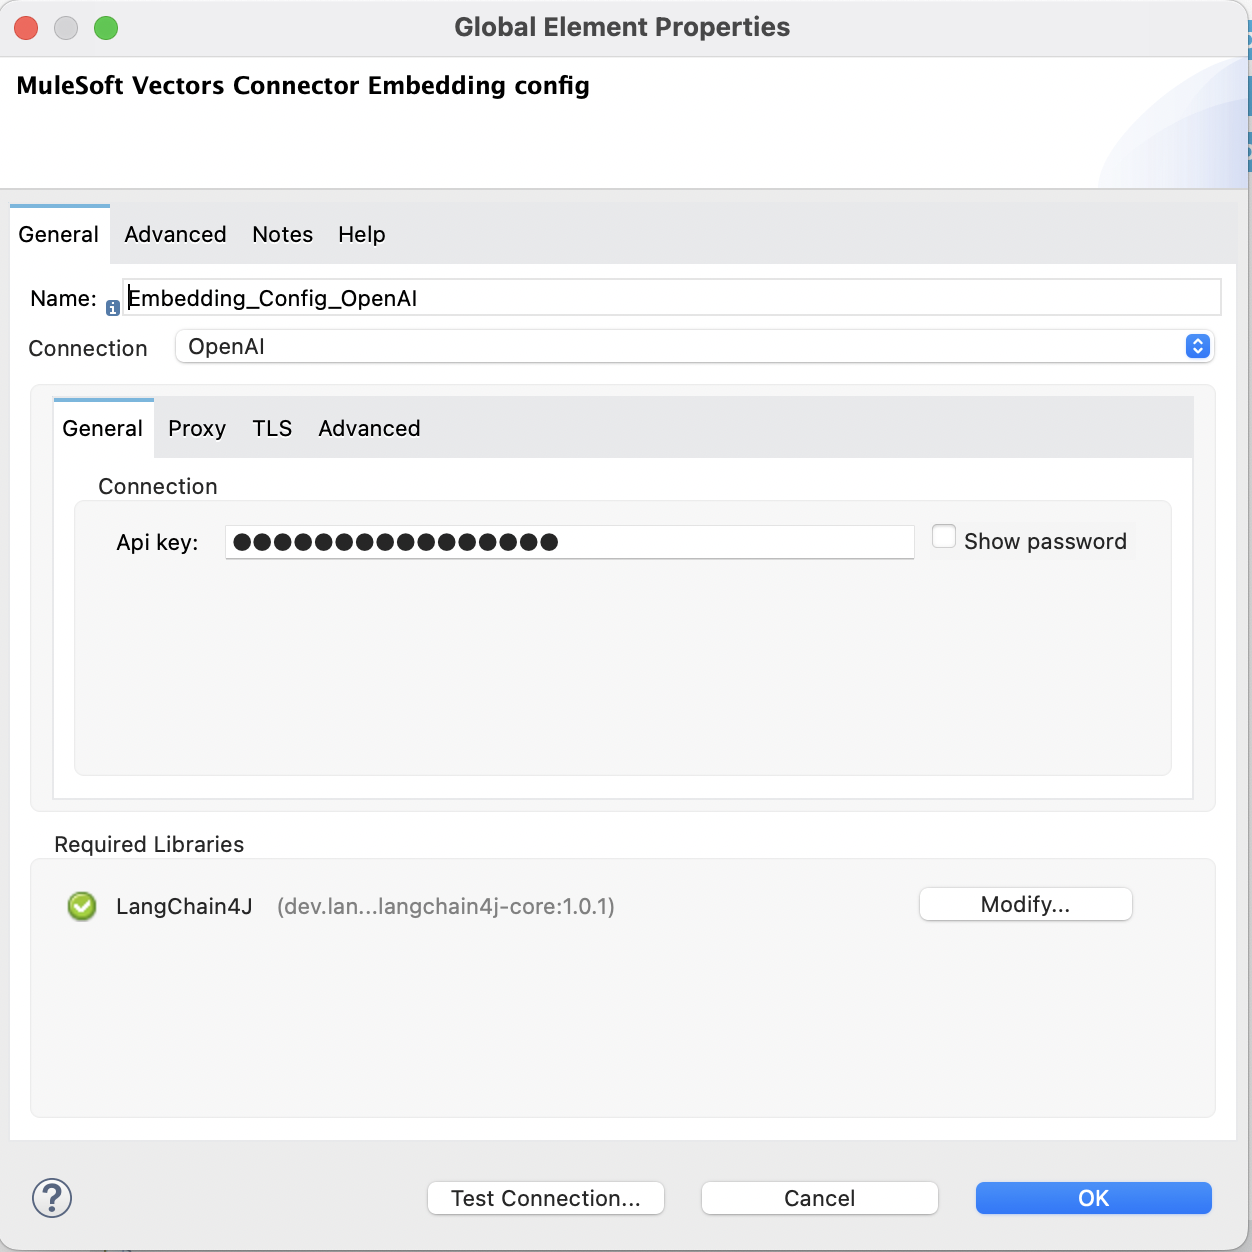
Depending on the specific embedding model service selected you'll be presented with different parameter to setup the connection. Following an example.
Store Configuration
The store configuration allows to pick-up the right vector store option among the available ones. When configuring the connection to a specific vector store it's also possible to test it.
Go to the Global Elements in your MuleSoft project, and create a new configuration.
In the Connector Configuration, you will find the MuleSoft Vectors Connector Store config. Select it and press OK.
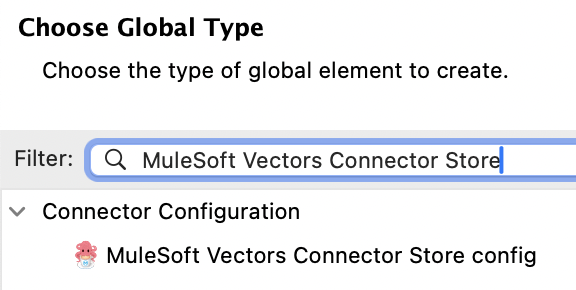
Depending on the specific vector store selected you'll be presented with different parameter to setup the connection. Following an example.
